
Your First Flow
This walkthrough creates a simple SRT-to-RTP flow using the manager web UI. It assumes you’ve already finished the manager and edge installs and the edge shows online at /admin/nodes/.
What is a flow?
Section titled “What is a flow?”A flow is one or more inputs feeding one or more outputs. The input receives media; each output independently delivers it to a destination. Slow outputs drop packets rather than back-pressuring — they never affect the input or any other output.
Input (SRT) ──► broadcast channel ──► Output 1 (RTP) ──► Output 2 (UDP) ──► Output 3 (RTMP)Step 1 — Open the node config page
Section titled “Step 1 — Open the node config page”In the manager, go to Admin → Nodes and click the edge you just registered. Then click Configure. The config page opens on the Flows tab, alongside Inputs, Outputs, IP Tunnels and Uplink Monitoring — plus a Tuning tab on nodes that advertise the node_tuning capability.
Step 2 — Add an SRT input
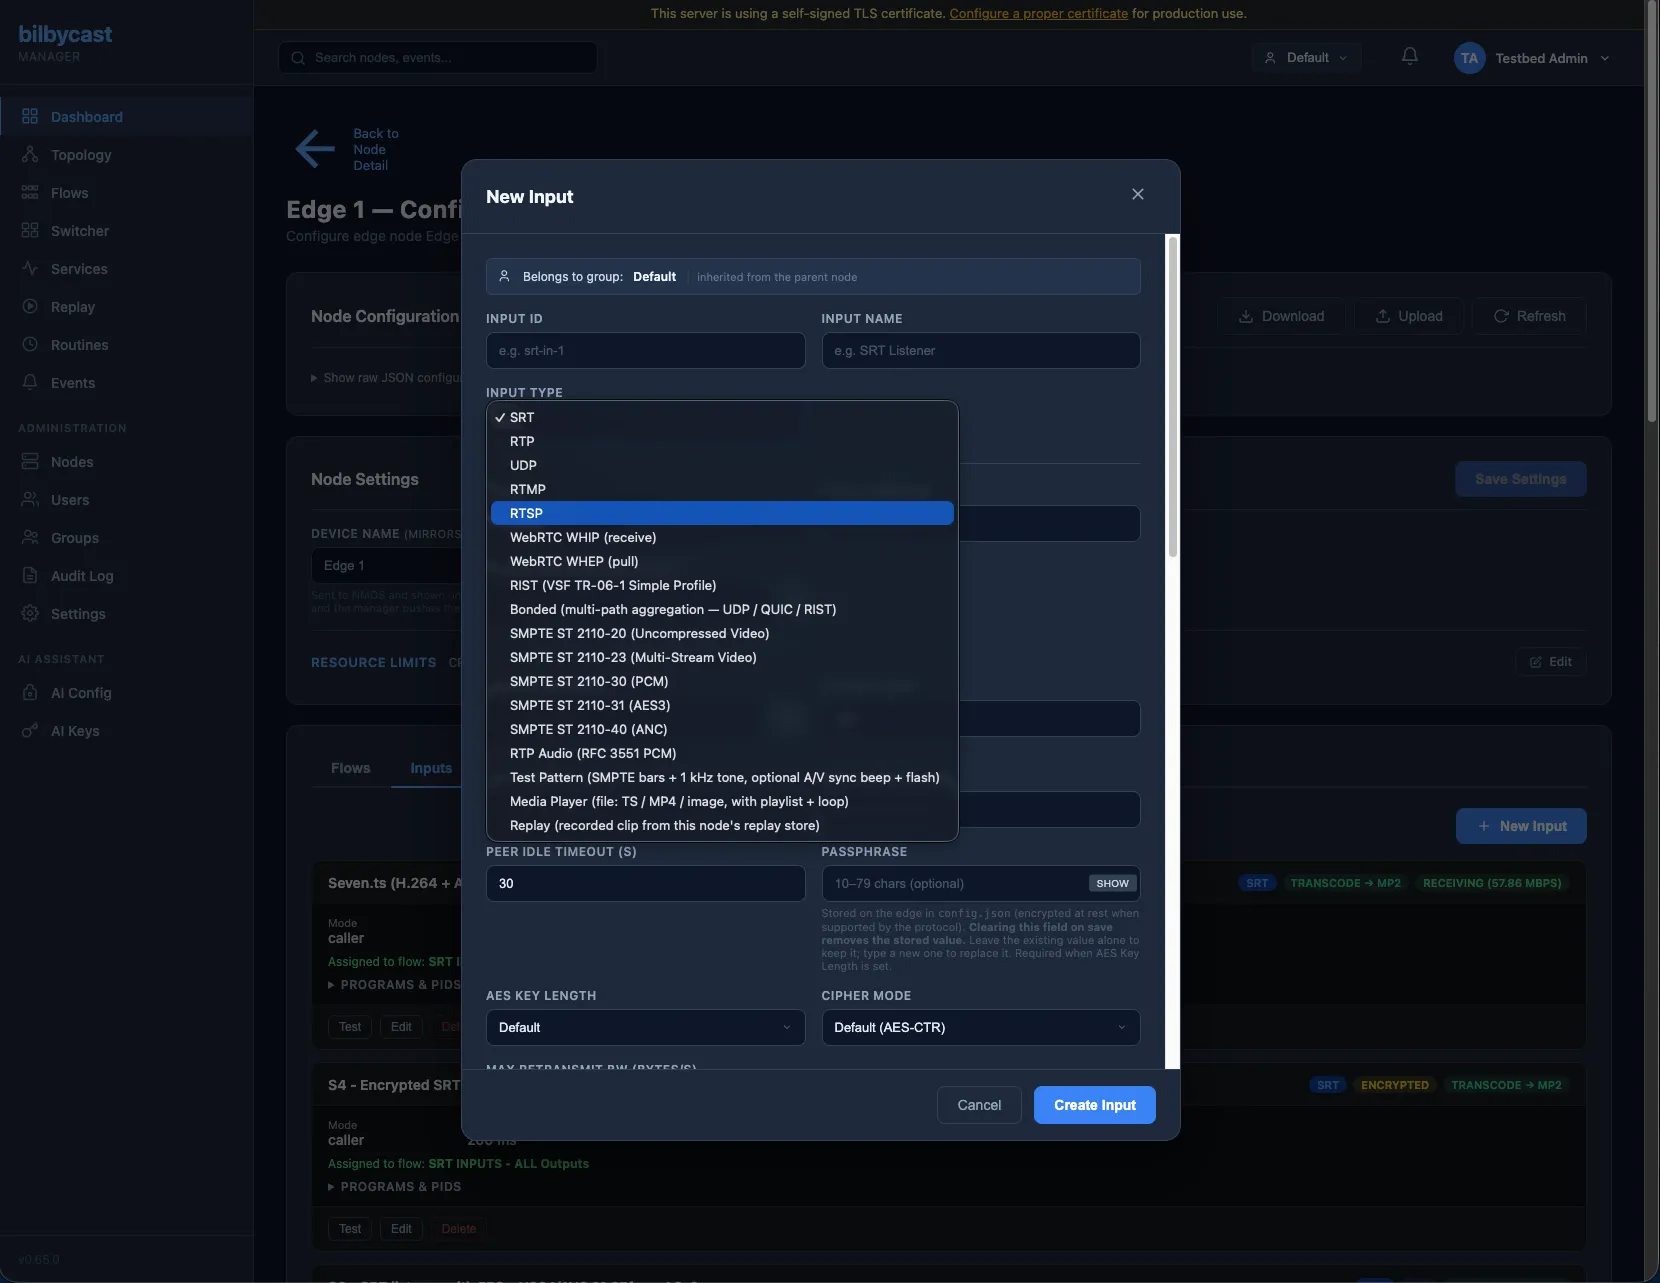
Section titled “Step 2 — Add an SRT input”- Inputs tab → New Input.
- Pick SRT as the type.
- Set:
- Input ID:
in-srt— required; the name auto-fills from it if you leave it blank - Input Name:
Source feed - Mode:
Listener - Local Address:
0.0.0.0:9000 - Latency (ms):
120
- Input ID:
- Create Input. The new input appears in the list with a status pill — yellow until the first sender connects.
Step 3 — Add an RTP output
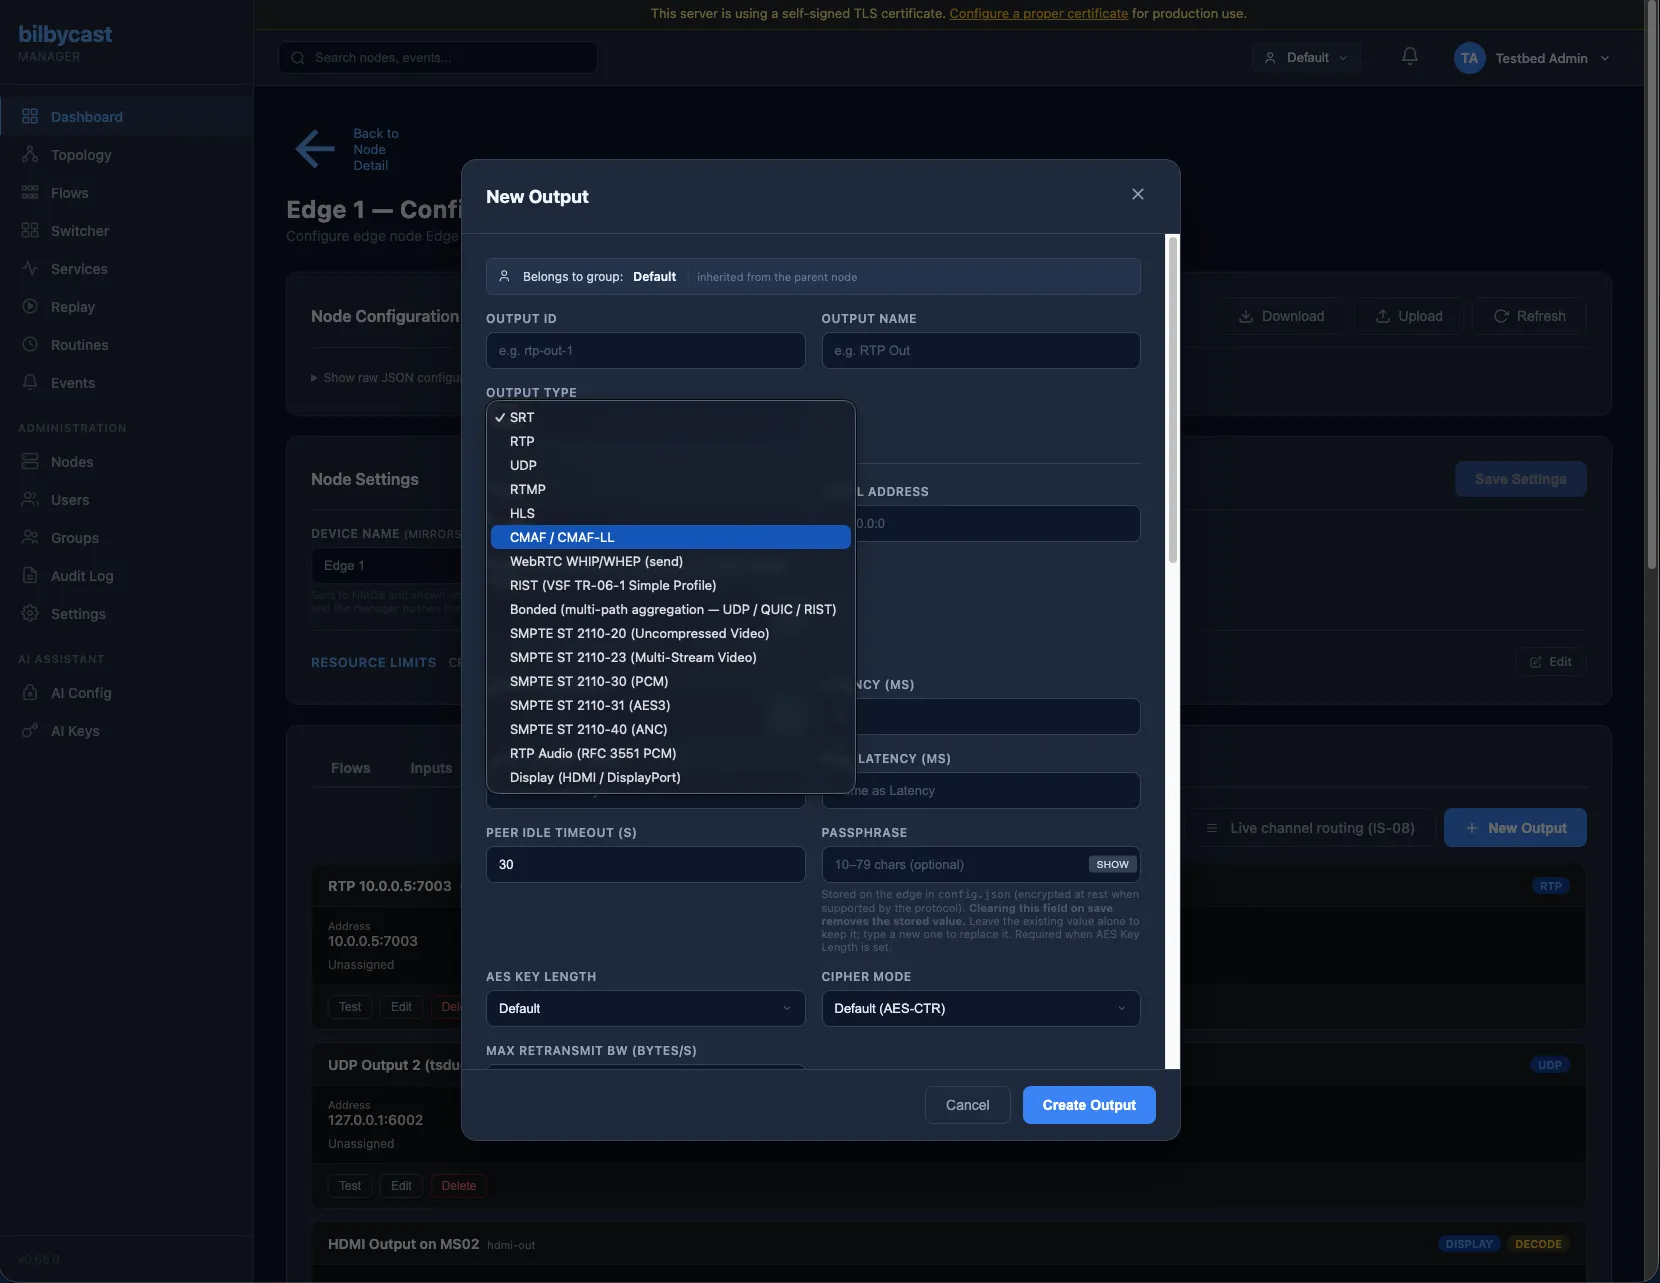
Section titled “Step 3 — Add an RTP output”- Outputs tab → New Output.
- Pick RTP as the type.
- Set:
- Output ID:
out-rtp - Output Name:
Local preview - Destination Address:
127.0.0.1:5004
- Output ID:
- Create Output.
Step 4 — Wire them into a flow
Section titled “Step 4 — Wire them into a flow”- Flows tab → New Flow.
- Set:
- Flow ID:
my-first-flow - Flow Name:
My first flow - Flow Type: leave on
Standard — has outputs - Inputs: select
Source feed - Outputs: select
Local preview - Enabled:
Yes - Start on apply
- Flow ID:
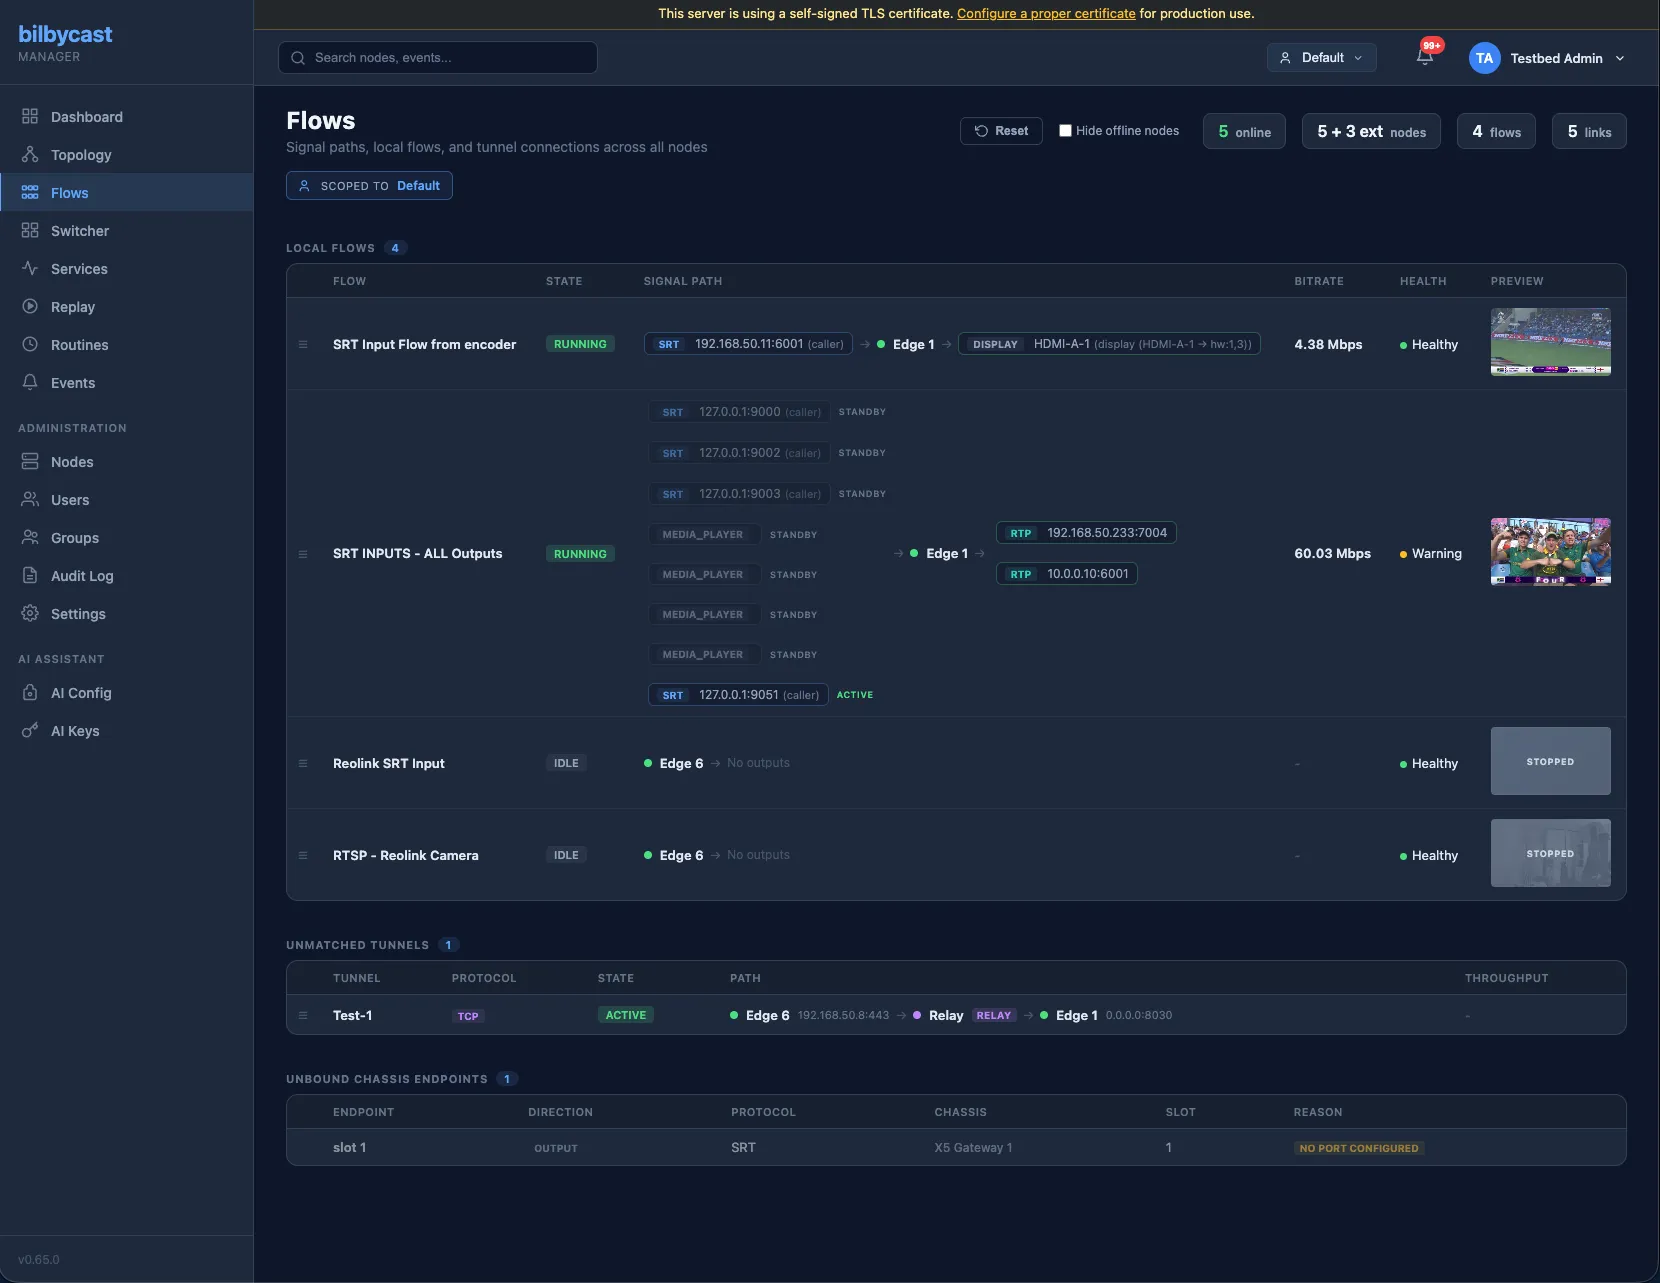
- Apply to Node. The flow appears with a green dot once both ends settle.
Step 5 — Send some media
Section titled “Step 5 — Send some media”From any machine that can reach the edge, push an SRT stream at port 9000:
# srt-live-transmit (Haivision)srt-live-transmit udp://your-source:1234 srt://EDGE-IP:9000
# Or ffmpeg (build with --enable-libsrt)ffmpeg -re -i input.mp4 -c copy -f mpegts srt://EDGE-IP:9000
The flow card in the manager updates within a couple of seconds — bitrate, packet rate, and a live thumbnail.
Step 6 — Watch the output
Section titled “Step 6 — Watch the output”ffplay -i rtp://127.0.0.1:5004Or in VLC: Media → Open Network Stream → rtp://@:5004.
Adding more outputs
Section titled “Adding more outputs”Open the flow, click Edit, add another output under Outputs, and Save Changes (on an existing entity all three modals relabel their submit button to that). Each output subscribes independently — you can add an RTP multicast, an SRT push to a remote site, and an RTMP push to YouTube on the same flow without affecting the others.
What to read next
Section titled “What to read next”- Supported protocols — full protocol reference and which fields each one takes.
- Configuration — every input, output, and flow field documented.
- Replay — record live flows and push clips back to air.
- Switcher — PGM/PVW director console for live production.
Advanced — the same flow as a JSON config
If you’d rather hand-edit the on-disk config instead of using the UI, the equivalent v2 config is:
{ "version": 2, "server": { "listen_addr": "0.0.0.0", "listen_port": 8080 }, "inputs": [ { "id": "in-srt", "name": "Source feed", "type": "srt", "mode": "listener", "local_addr": "0.0.0.0:9000", "latency_ms": 120 } ], "outputs": [ { "id": "out-rtp", "name": "Local preview", "type": "rtp", "dest_addr": "127.0.0.1:5004" } ], "flows": [ { "id": "my-first-flow", "name": "My first flow", "enabled": true, "input_ids": ["in-srt"], "output_ids": ["out-rtp"] } ]}Inputs, outputs, and flows are independent top-level entities; flows reference inputs and outputs by ID. The full schema is in Configuration.